How to Start a Blog in 2023?
Table of Contents
ToggleA blog is an online journal where people write about topics that matter to them. Blogs are often used to express opinions, provide information, or simply entertain others. They come in many forms including personal ones like Tumblr and Twitter, news sites such as CNN and BBC News, and even corporate ones like LinkedIn. By the way, technically a blog is a section of a website.
People who read blogs tend to buy more things. If you want to start a blog, it’s important to understand why people read blogs? Reason could be because they want to learn something new, or it might be because they’re looking for inspiration, or else they just enjoy reading what other people think and feel. Once you get noticed by a larger audience, Bloggers can build a Community around the topic they are blogging.
There are many different kinds of blogging platforms. Some are free while others require you to pay monthly fees. Most bloggers use WordPress, which is one of the most popular blogging platforms today.
Steps to create a new Blog
- Pick a Hosting platform
- Select Your Hosting Plan
- Confirm the Domain Name
- Activate your Domain
- Set Up a Blogging Platform
- Select a theme and Design your blog
- Write & Publish your first Blog
1.Pick a Hosting platform
Hosting is a Home of your Website and it keeps your website “Live” on the Internet.
If you are planning to create a Website, it should host it somewhere. That’s how Hosting platforms get into the picture.
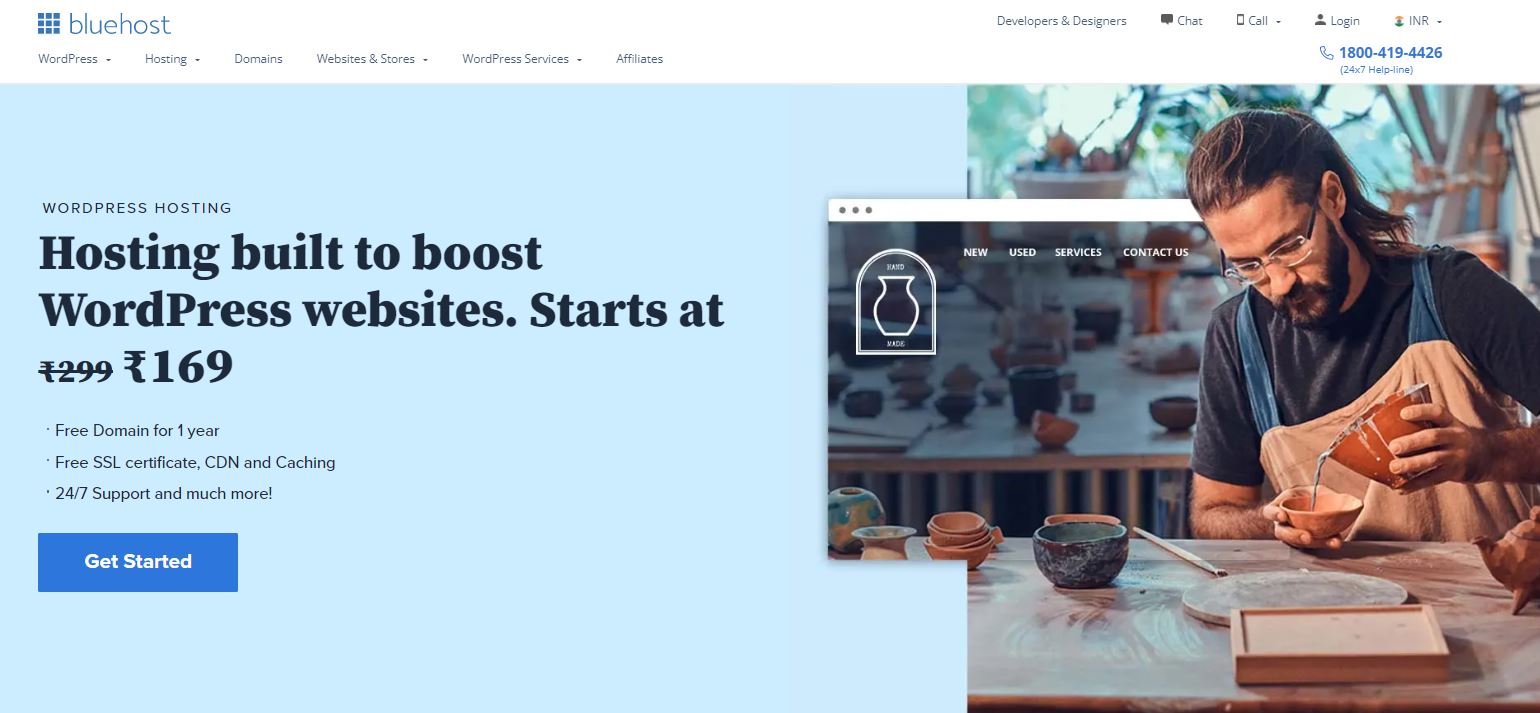
There are multiple Hosting platforms available in the Market but I only recommend Bluehost.
Why have I Chosen BlueHost as a Hosting platform? BlueHost is So cheap, Best Customer Service, Strong Uptime and affordable beginner plan.
Before getting into the Conclusion, I would suggest you do your research and find which Hosting platforms suit you the most. But I highly recommend Bluehost
Go to BlueHost website and Click on “Get Started Now” (PS – Bluehost homepage might look slightly different depending on if they update their site. The steps will still be the same )
2.Select Your Hosting Plan
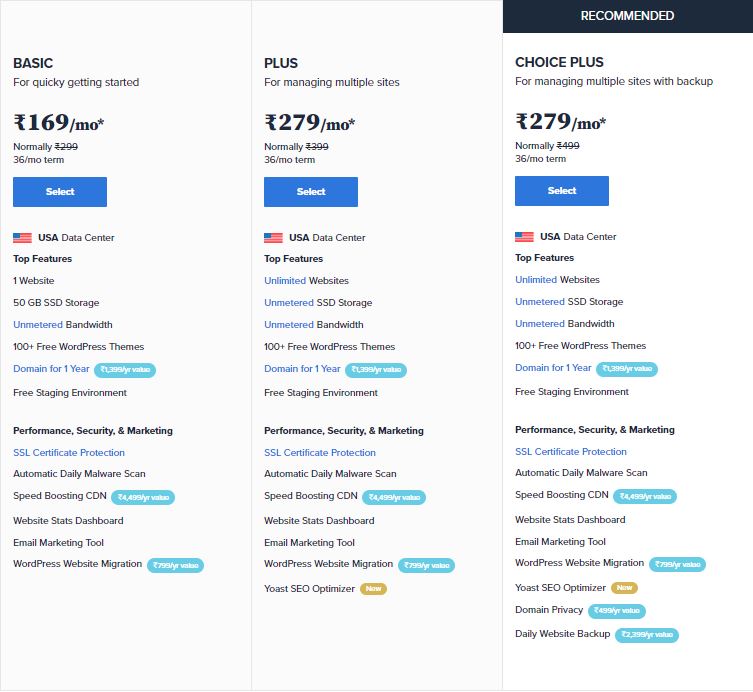
Page will show three options. I recommend you to Select “CHOICE PLUS” plan over Basic and Plus, because it has more features compared to those two plans.
3.Confirm the Domain Name
a.Select Your domain name
You should pick a perfect domain name because users can access your website using that domain name.
Things to remember while selecting your domain name:
- Select .com Domain Names
- Easy to Type & Pronounce
- Select Short Domain Name (Easy to remember)
- Avoid Using Trademark
- Don’t spend too much money for particular Domain Name
Moreover Bluehost is offering a free domain name for the First Year. While searching for domain names, You might have noticed that it’s quite difficult to find a good domain name, which is available. Before concluding the domain name consider the above points & take action accordingly.
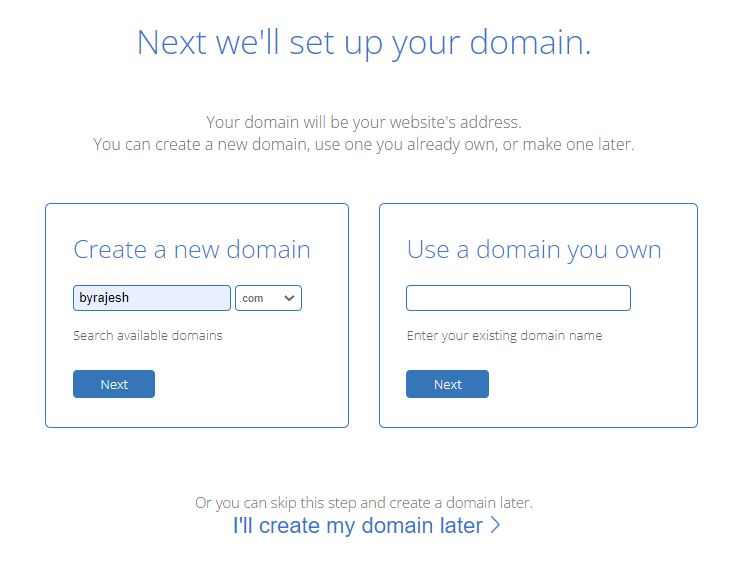
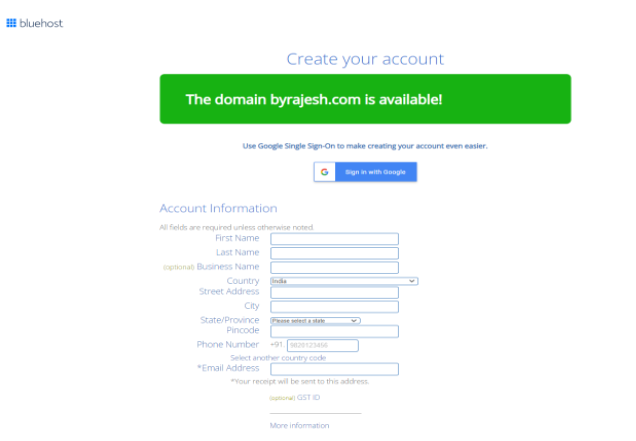
Enter the domain name in “Create a new domain” search box and Click on “Next” to check Domain availability. Suppose you already have domain name enter the name in “Use a domain you own” search box and Click on “Next”
If you don’t have any idea “how to select your website domain name”, I will give you the clue. For example, mine is byrajesh.com. I have selected my name as a website name and finalized the same.
b.Fill your billing details
Make sure you are entering correct billing details and valid email id because Billing Information, Payment Details, Receipt and Account details will be sent to “Email Address” which you have mentioned in the account information box.
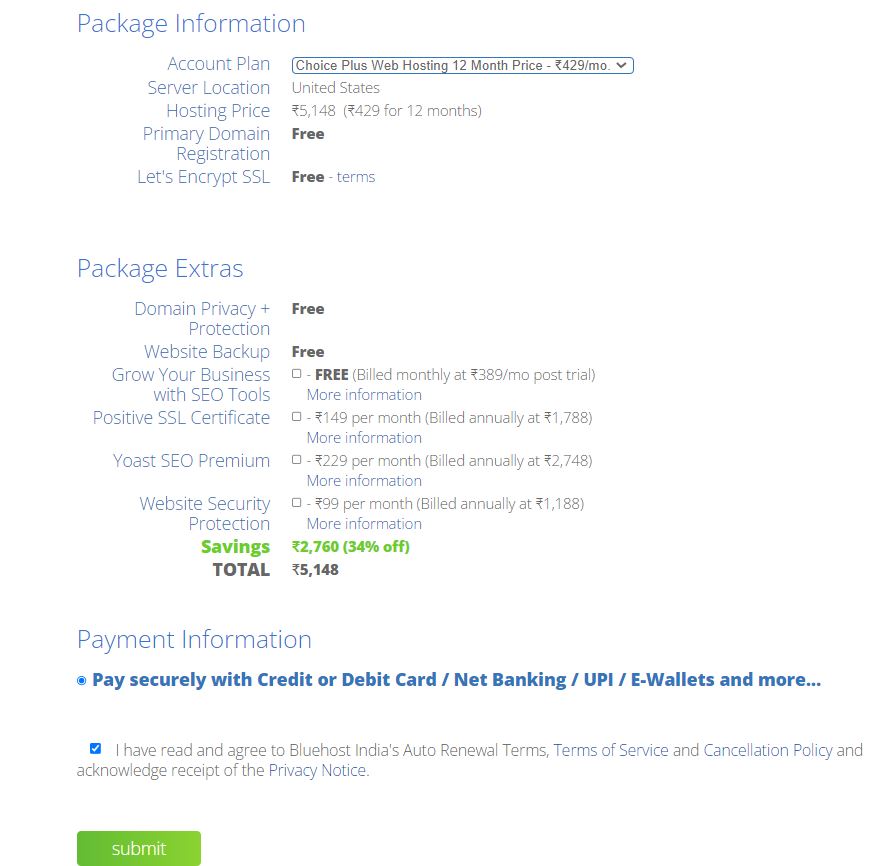
I would recommend you to Select “Account Plan” for 12 or 14 months. In the initial stage of your blogging career, I wouldn’t recommend you to select addon so uncheck the addon checkboxes.
Select the “Terms and conditions” checkbox as usual 
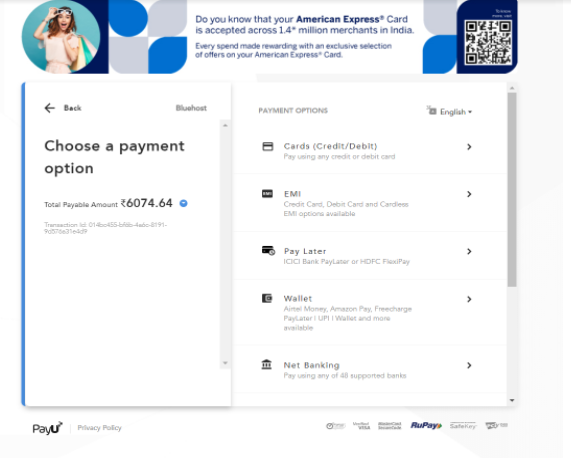
C.Select Payment Type
Select the payment option -> enter the required details and do the payment.
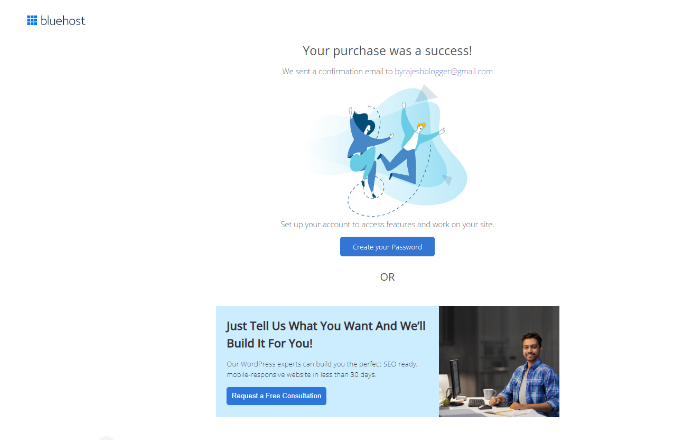
d.Successful Purchase
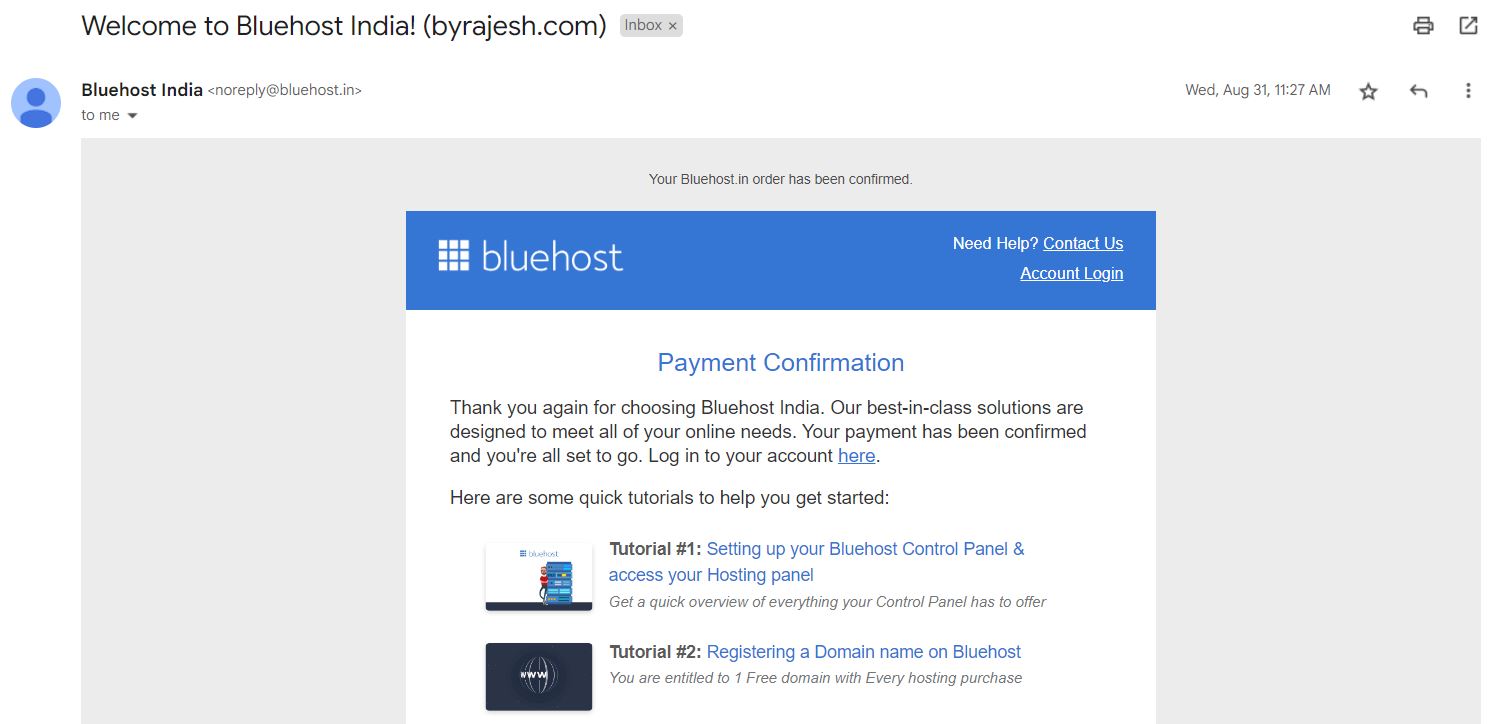
Once payment is successful, you will receive a mail as “Thank you again for choosing Bluehost India. Your payment has been confirmed and you’re all set to go”
e.Reset your Bluehost Password & Login to Bluehost Account
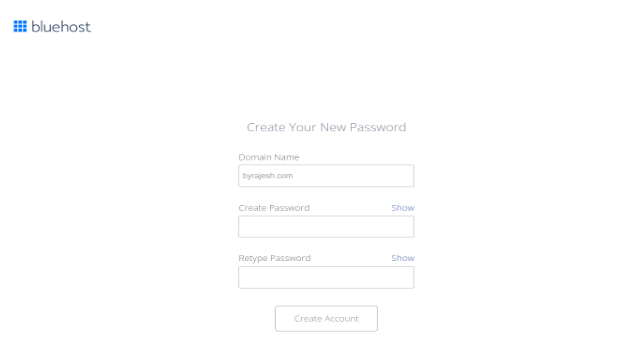
Once your purchase is successful you have to change your password then Click on the “Create Account” option which will take you to the Login Page. Enter the domain name & password, Click on “Login”
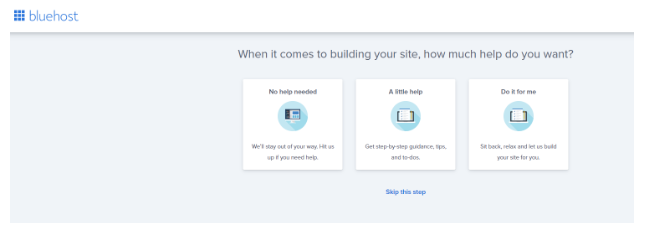
Once Logged in you will get prompted with a lot of information just click “Skip this step” at the end WordPress will get installed for you.
4.Activate your Domain
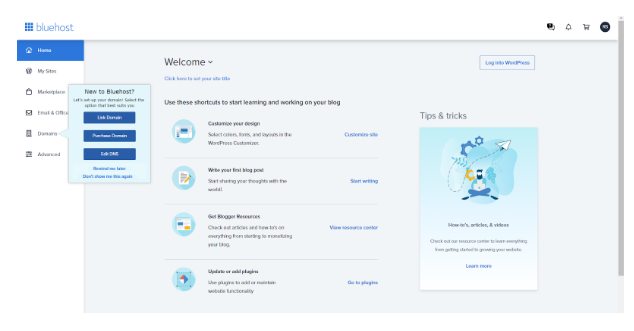
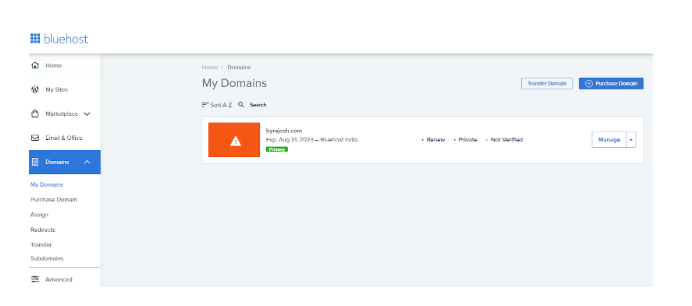
In your Bluehost Account, to Activate Your Domain you have to do WHOIS Verification for your domain. To do the same Go to Domains -> Check your domain getting listed with “Verified” status else you should get verified.
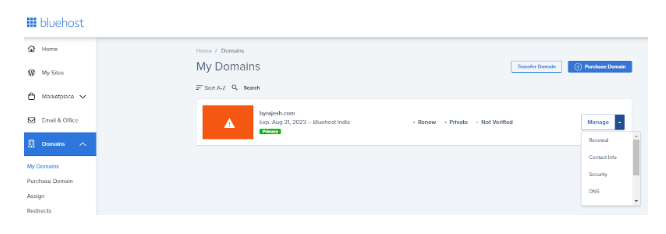
To get “Verified” Go to Manage -> Click on “Contact Info”
Contact page will have “Resend Verification Email” option, Click the same.
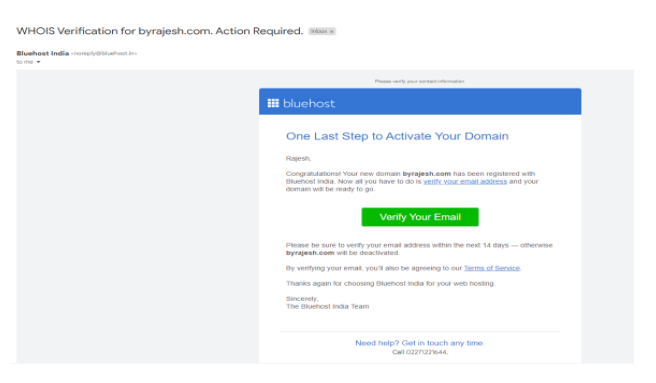
Email will be sent to your registered gmail id with the subject of ”WHOIS Verification for Your Domain Name. Action Required”
Please be sure to verify your email address within the next 14 days — otherwise your domain will be deactivated.
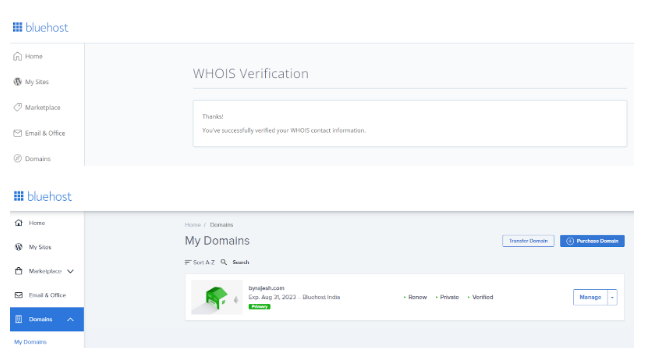
Click on “Verify Your Email” -> You’ve successfully verified your WHOIS Contact information. Domain status also changed into “Verified” from “Not Verified”
5.Set Up a Blogging Platform
If you want to build a website then you can use WordPress (In default, WordPress is available in BlueHost) and it allows non technical people to build a website using pre-made templates.There are tons of pre-installed plugins to build a more advanced website.
WordPress comes in two different platforms. Those are WordPress.com and WordPress.org.
Let’s see the difference between WordPress.com and WordPress.org.
.COM | .ORG |
Free to use | Need to purchase |
Limited theme options | Full theme Customization |
No plugins | All plugins allowed |
Limited free storage | Storage varies by host |
Pay to remove Ads | Run your own ads (or don’t) |
Little or no technical control | Full control over database and files |
Service | Software |
In simple terms, if you purchase domain name & hosting means it will come under WordPress.org else it will come under WordPress.com
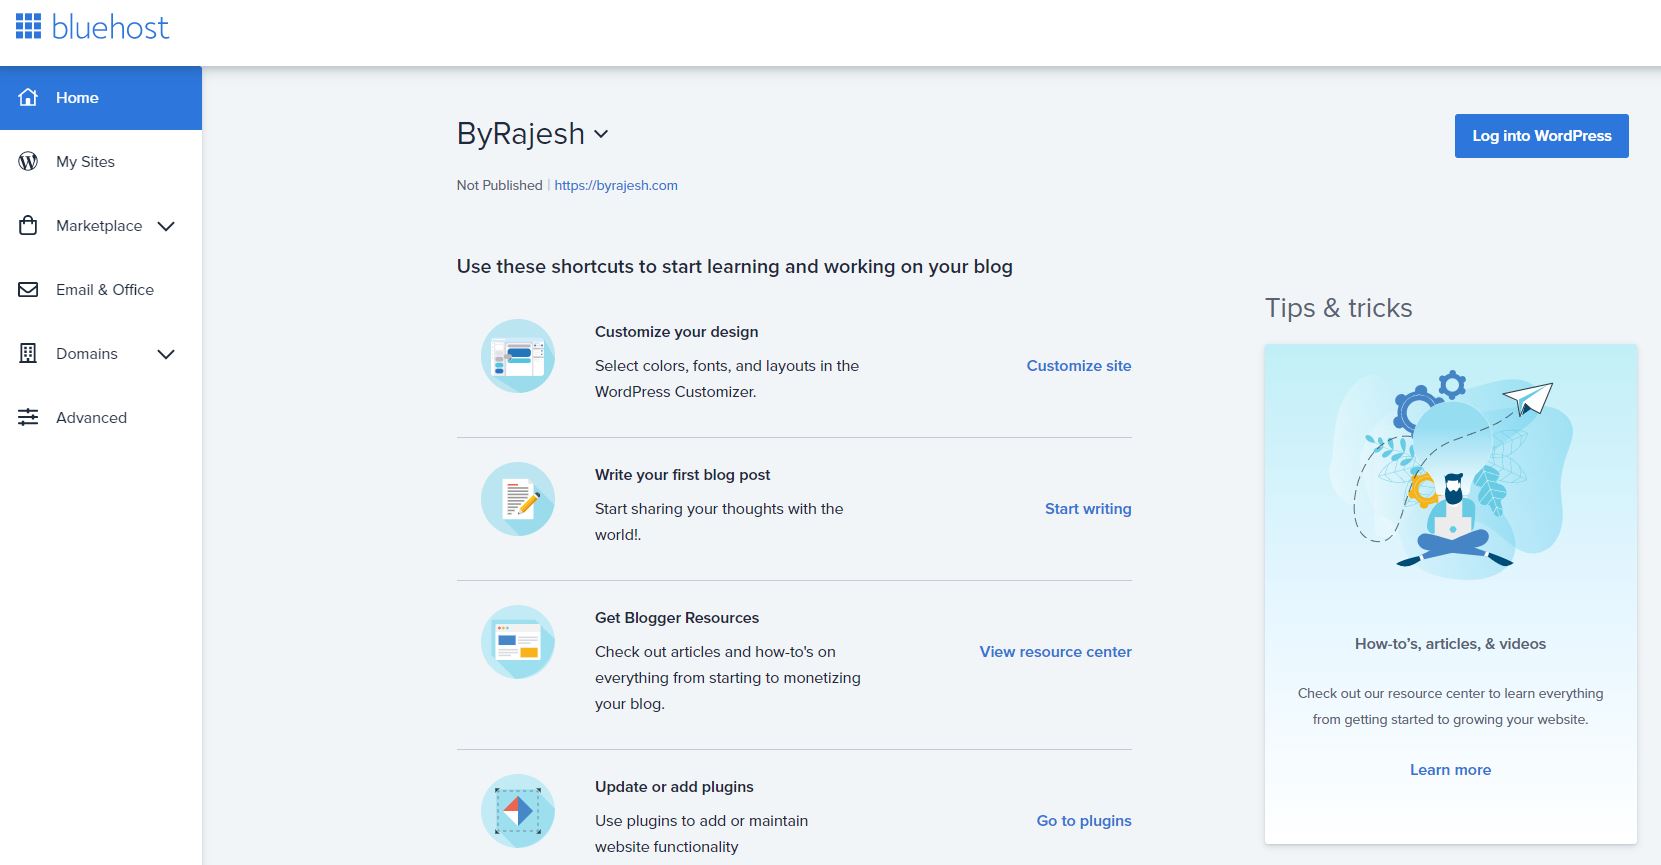
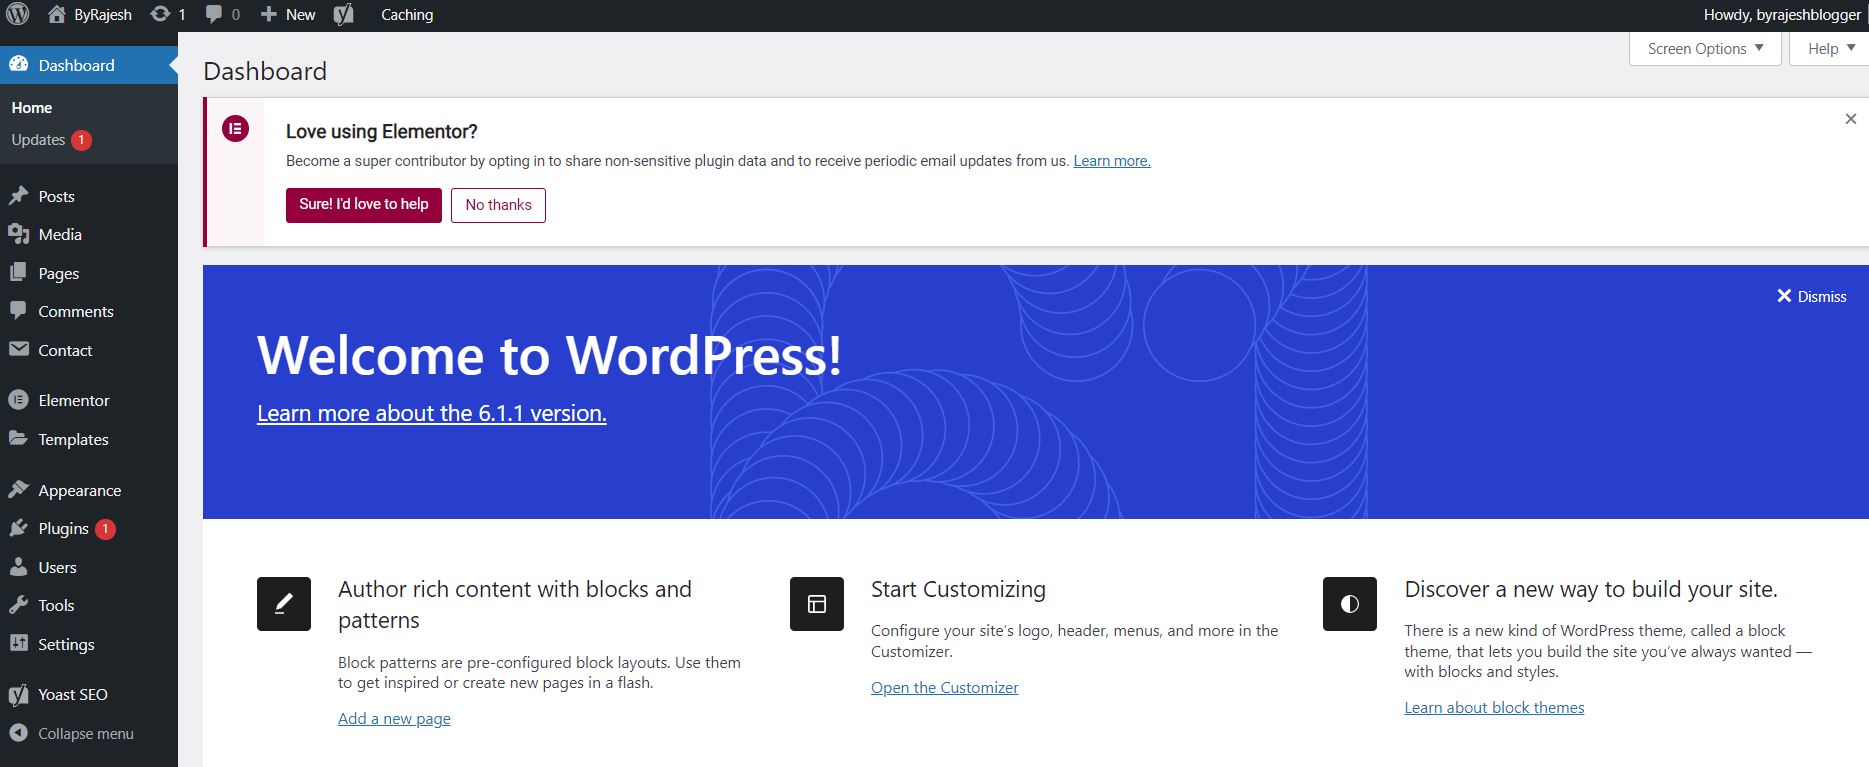
Click on “Log into WordPress” will take you to the WordPress.org home page.
6.Select a theme and Design your blog
“The beauty of the soul is known in the face” Likewise First thing people will notice in your blog is Look & Feel so choose your themes wisely.
You can use themes which are available in the Appearance tab. But I would recommend you to purchase a premium theme because it looks professional, more customisable and easy to update
To use default themes Go to Appearance -> Themes
7.Write & Publish your first Blog
Select the right niche that you are knowledgeable about and do the proper Keyword research, analyze the traffic then create your first blog. If you are feeling content & On page SEO customization is good to go then publish your blog. Once visitors start to notice your blog, you have to give more importance to your Content because in the long run “Content is King”. If your content is giving more value to the audience you can build a Community around the topic you are blogging.
Here I have given you the information about “How to start a Blog”, you have to condense enough to continue your train of thoughts to design your Website and to do promotions.
My biggest tip to you: Take Action, Be consistent and Be Patient
Wishing you the Best of luck in your Journey!!!!!
Meet Rajesh

I am Rajesh from India, the founder and owner of byrajesh.com
Currently I am working as an Automation Test Analyst in an MNC Company, while working in a comfortable position I always think of my future and next move.

COPYRIGHT ©2022, BY byrajesh. ALL RIGHTS RESERVED.

